What is God calling you to do during the Pandemic?
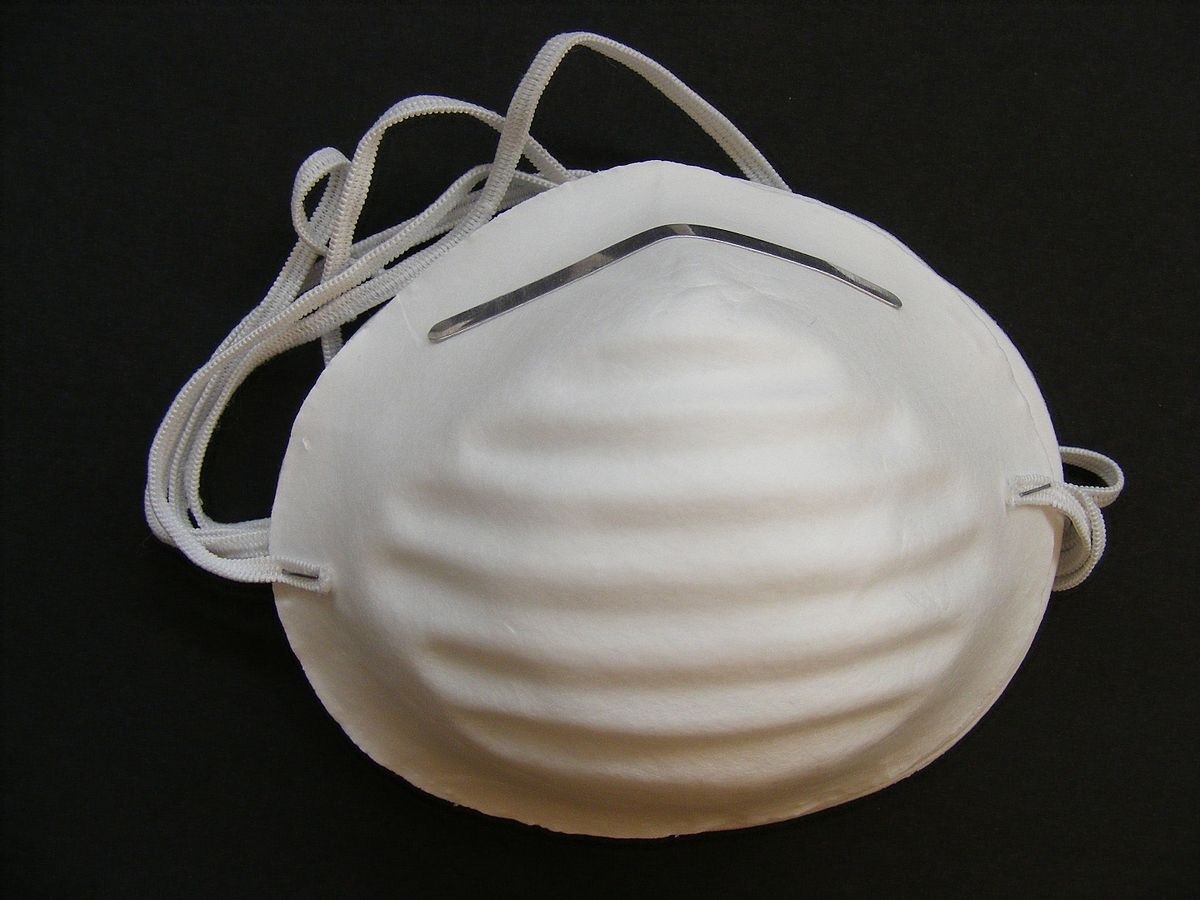
What you can do…Sew Homemade N95 Respirator Masks for Healthcare workers, truck drivers and anyone else in need of a mask!
Please know that any mask is better than NO mask! States have reopened. A cure has not been found. Please don’t compromise your health!
According to Diane Vuković at Primalsurvivor.net, the coronavirus pandemic is getting exponentially more widespread every day. In an effort to protect themselves from the virus, everyone wants a face mask, especially an N95 respirator which are said to provide the best protection against getting sick.
The problem is N95 respirators are now impossible to find. Read more about N95 Masks.
Luckily, it is possible to make your own respirator. The key is using a HEPA vacuum cleaner bag as a filter. Donate to your hospital, police departments, day care centers, and companies with drivers.
you must use the HEPA vacuum bag as a filter inside a cloth mask.
Materials
- Fabric for the front of your mask, approximately 12×7 inches
- Liner fabric for the back of the mask, also 12×7 inches
- Elastic to secure the mask in place
- HEPA vacuum bag – They are readily available on Amazon
- A flat piece of flexible metal for the nose piece (optional but recommended)
Instructions
1. Cut Out Fabric

- Iron your fabric first.
- Print and cut out the pattern. Get the pattern here (free PDF download). Make sure you print it to scale.
- Fold your front fabric in half. The back of the fabric should be facing outwards
- Pin the mask pattern to the back of your fabric or trace it using pencil.
- Cut out the fabric, making sure to LEAVE A ¼ INCH SEAM ALLOWANCE around the edges.
- Repeat for the liner fabric
2. Cut HEPA bag
- Remove the cardboard portion from the bag
- Trace or pin the HEPA pattern onto the bag
- Cut out the bag. *You only need to leave a seam allowance for the center line (the curved line which will go vertical down the face)
3. Sew the Center Line
- Line up your first two fabric pieces with the backside facing outwards
- Pin the center line
- Sew the center line with a ¼ inch seam allowance
- Repeat for the liner fabric pieces.
4. Sew Front Fabric and Liner Fabric Together
- Open the fabric pieces you just sew
- Line up the fabric pieces so the backside is facing out and pin together
- Sew the sides and top of the mask together using a ¼ inch seam allowance. Do NOT sew the bottom side of the mask! You will need it to be open to insert the filter.
- When you are done, flip the mask so the fabric is right-side out
5. Sew and Insert HEPA Material
 HEPA bag as a face mask filter
- Sew the center line of the pieces of HEPA filter you cut out, leaving a ¼ inch seam allowance. It’s probably best to do this by hand as it can snag on a sewing machine.
- Insert the HEPA material between the inside and outside layers of the mask
6. Sew Bottom Edge of Mask
- Turn ¼ inch of the bottom fabric under and pin in place.
- The two bottom edges together. I did this by hand using an overcast stitch
*If you want to make a “pocket mask” so you can remove the filter, you can instead close the bottom edge of the mask with tape. I haven’t tried this though so am not sure whether the bulkiness of the tape would affect how snugly the mask fits around the face. If anyone has advice on how to do a pocket mask, please let us know!
7. Attach Elastic
Most DIY face masks have elastic ear bands. I find ear bands very uncomfortable. They also make it impossible to get a snug fit on the mask. This method of attaching elastic works much better.
- Fold over the side edges of the mask and sew them in place to make channels.
- The fold should be at least as wide as you elastic.
- Thread one long piece of elastic UP through the channel you just made. Then thread it DOWN through the channel on the opposite side.
- Tie the elastic. You now have top and bottom straps.
8. Attach Metal Nose Piece
If you have a flexible piece of metal, you can sew or glue it to the top of the respirator. This will provide a better fit so air doesn’t leak into the mask.
What to use as a nose piece:
- Pipe cleaners
- Wire twisted in a loop and wrapped in duct tape (so it doesn’t scratch you/poke your eye out)
- Stripped down copper wire
- Grocery store twist ties
- The metal closures on coffee bags
- Metal strip on manila envelopes
- Paper clip, with ends sanded down
- Metal pie tin, folded so no sharp edges are exposed
- Piece of a soda can, with edges sanded or hammered down so they aren’t sharp
- The underwire of a bra
-
Reusing Homemade Respirators during a Viral Pandemic
N95 respirators are supposed to be disposable. However, even the CDC acknowledges that they may have to be reused when in short supply. If you need to reuse an N95 respirator (or your DIY respirator), follow these guidelines:
- Wash your hands before and after putting on the respirator or adjusting it. Or use hand sanitizer if you can’t wash your hands.
- Avoid touching inside the respirator.
- Don’t try to disinfect respirators. Disinfectants like alcohol and bleach can damage the respirator’s structural integrity. This also applies to HEPA vacuum bags.
- When not using the respirator, store in a breathable bag. Paper bags work for this.
- Have enough respirators for at least 4 days. The coronavirus can live on surfaces for 3 days. If you make enough respirators for 4 days, then you can cycle through respirators. For example, if you go out 2x per day, you’ll want to have 6 masks so you have enough for each outing over 4 days.
Cleaning a Homemade Respirator Mask
Can you wash this mask? The short answer is I don’t know. HEPA vacuum bags are designed to be disposable and there haven’t been any tests about what happens to the filter medium when washed.
However, there were studies which tested methods of cleaning N95 respirators. It found that: An autoclave, 160°C dry heat, 70% isopropyl alcohol, bleach, and soap and water (20-min soak) caused significant degradation to filtration efficiency.
Because of this, I do NOT recommend cleaning/washing the HEPA filter medium. Instead, cycle through the masks as talked about in the section above.
If you are worried about keeping the exterior fabric clean, you could wear a shield of bandana over the mask. Or, if you are crafty, turn this design into a “pocket mask” so the filter can be removed and the fabric portion cleaned. Remember the filter will still have to be set aside for at least 3 days so any viruses on it have time to die off.
Disclaimer:
I’m not a doctor or an epidemiologist. I can’t guarantee that this DIY respirator will protect you from any virus. However, the research has shown that any mask is better than no mask. Based on what I know about HEPA materials, it seems to be the best filter for a DIY mask- certainly better than the tissues being used in many DIY masks!
Please visit the site. They have a great how-to-do-it video!
https://www.primalsurvivor.net/homemade-n95-respirator-mask/
![]()
WOW is a 501(c)3 charitable organization. WOW fellowships with like-minded people and performs community service. WOW exists to glorify God and build His Kingdom. WOW represents single Christians throughout the Dallas Fort Worth Metroplex.
Call (469)844-0452
We Publish News 24/7. Don’t Miss A Story. Click HERE to SUBSCRIBE to Our Newsletter Now!


